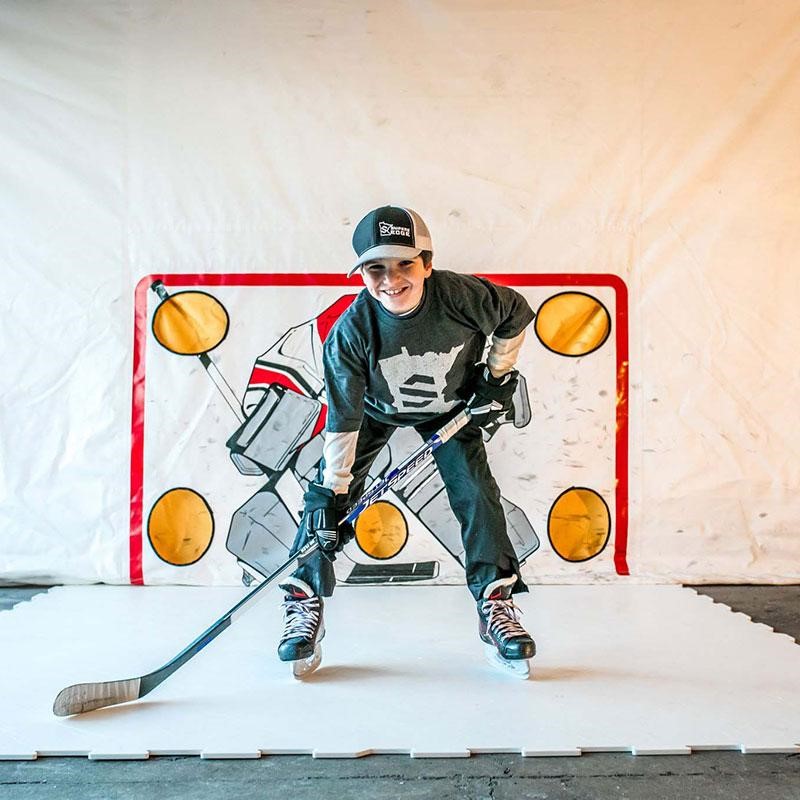
Many of us are stuck in our homes these days due to the pandemic. For a hockey player, it is almost torture to not be able to go out and play. There is a ray of hope, however, that people are taking advantage of. Hockey flooring tiles that you can set up in your own home. There are synthetic ice and dryland hockey flooring, also known as slick tiles. Of course, there are other flooring types available on the market, like rubber flooring, but we will stick to the ones that will be most beneficial for hockey players.
Find Your Spot
Maybe the hardest part of making a shooting area in your home is to find the perfect spot to set it up. Although dryland tiles and synthetic ice are similar, they are very different in many aspects. However, both of them simply need a solid, flat, level surface to build upon. It is possible to build flooring areas over grass, or carpet, but in those cases, it is better to build on plywood. Wherever you choose to build your flooring area, make sure that it is safe and has adequate room to move around in. The ideal place would be in your garage on top of a solid cement flooring area, or on the back patio. If neither of these is available, you can always lay down a sub-flooring made of plywood and go from there.
Measure Your Area
When you build your flooring area you will purchase tiles or panels that are pre-manufactured to a certain size. For instance, synthetic ice panels can come in 2 foot by four-foot panels, and dryland tiles can come in 1 foot by one-foot squares. In order to make sure that your flooring will have enough tiles or panels you will need to measure the area out and get an idea of how many boxes you will need to ensure that you succeed in your project without problems. If you take the width of your area and multiply it by the length you will find out the square footage of that space. Once you have your numbers ready, compare the square footage of your area to how many square feet you will get per box of tiles or panels. This way you won’t buy too many or too few and everything will go as smoothly as an ice rink.
Set Your Flooring Tiles
Once you have everything ready to go, get your tiles out of the boxes and set them within your reach. You can start out from the center and build your way outward to ensure that you use the space that you have available to your best advantage. Sniper’s Edge flooring has tiles and panels that fit snugly together with tabbed edges that lock together. When you lay your flooring out flat on the floor, all you have to do is interlock the sides of each tile or panel with the adjacent piece so that they snap together tightly and snugly. If they are attached correctly there will not be any gaps or raised edges, they should fit perfectly together where they sit. As you attach each tile to the next, stop and make sure that there are no issues with the seams. You want the flooring to be as flawless as possible because when there are bumps and gaps it causes hazards and other problems.
Get Going
Once you have all of your flooring tiles or panels properly set up on the floor, it is time to get moving on it. Remember, you can’t use ice skates on dryland tiles, and you can’t rollerblade on synthetic ice. You can pass the puck and practice shots all you want, but make sure you are using the right footwear for each surface, or you will cause problems for yourself and your flooring.

